Get your art out of the box, off the floor or out of the closet — these simple hanging strategies will let you put it where it belongs
Buying art or posters, or printing out pictures, is the easy part. We’ve all been faced with the hard part that comes next: choosing frames and mats at the art store or standing in front of a clean wall with a hammer and nail in hand. What color frames should you choose? At what height should you hang paintings? How do you do a salon wall? The first rule is to overcome your fears. Don’t leave your art in a box for years, your walls bare. Just plunge in and get started.
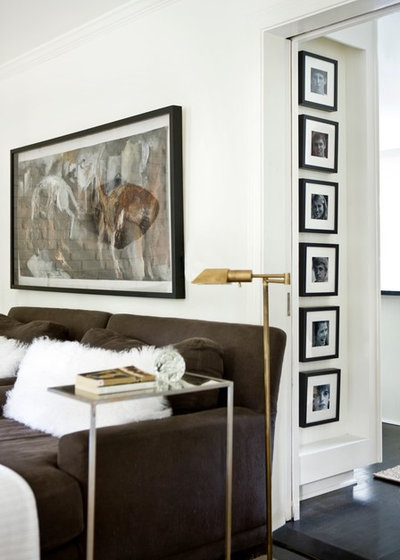
1. Keep it simple. With mats and frames, the easiest thing to do is stick to the most versatile colors: white mats and black frames. Then have all your art framed the same way.
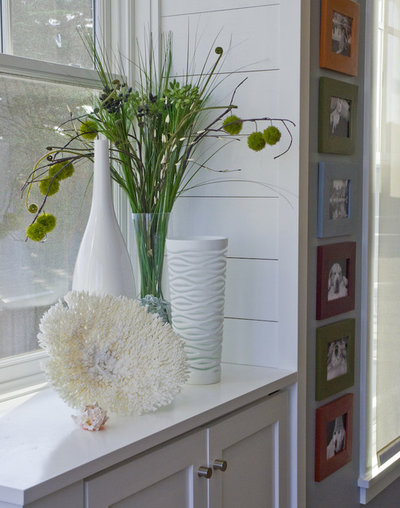
Choose various colored frames in a coordinating palette if you want to liven up a neutral environment.
2. Hang pieces at eye level. Most galleries hang their art at average eye level, about 58 inches high. The center of the artwork, not the top of the piece, should be at that height. This means you need to do some math: Measure the distance between the wire and the top of the frame, and measure the height of the art and divide it in half. Measure 58 inches on the wall, add the measurement of half the art's height and subtract the distance between the wire and the top of the frame. Put the nail here.
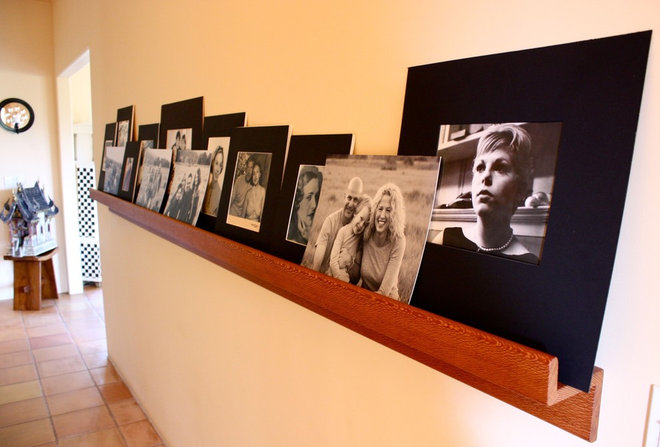
The gallery-height guide also works for picture ledges.
Display your artwork in style with new shelves
Display your artwork in style with new shelves
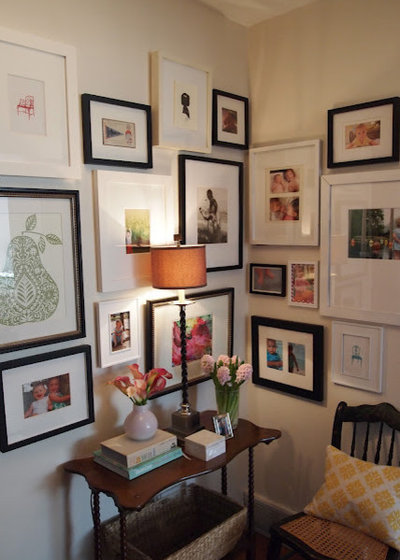
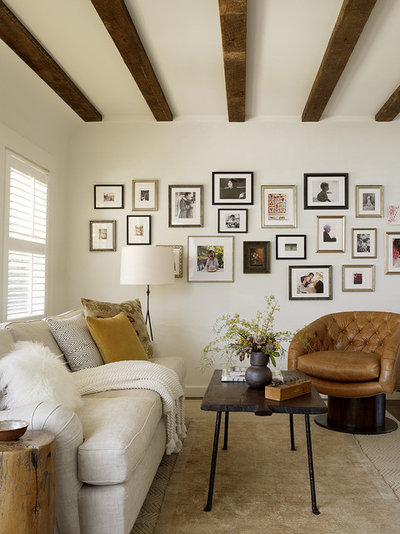
Yup, salon-style galleries and art hung in a grid work well centered at eye level, too.
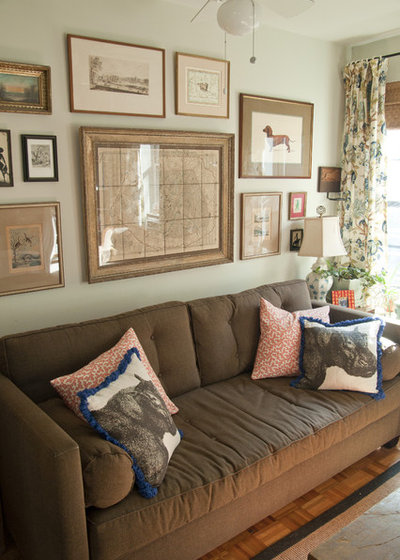
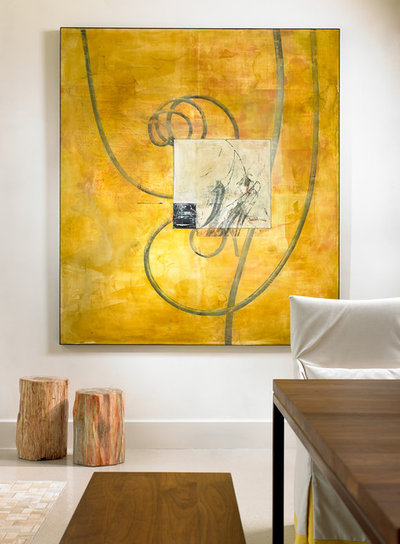
You may need to adjust for furniture underneath so that you’re not creating an awkward large gap between the art and the sofa.
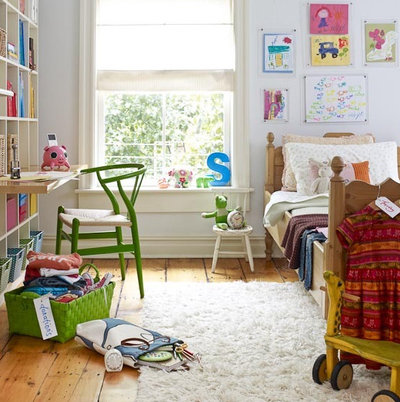
Adjust gallery height for the people in the house. Think about hanging art a bit lower in kids' rooms.
If a room is going to be used mostly for sitting, hang your art lower to keep it at eye level.
3. Hang art in a grid. Hanging a grid of photos is a great way to make a big statement while still keeping the focus on the individual photos. A symmetrical grid take some additional time and math. Have patience. Keep about 2 to 3 inches between frames.
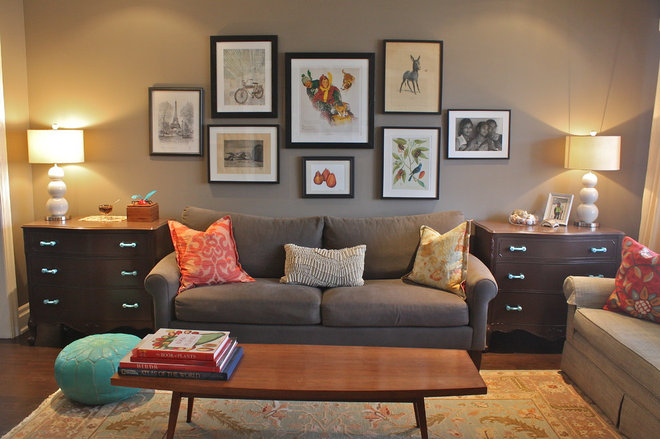
4. Go for salon style. Start with the largest piece of art. Center it in the middle or just off the middle, and then place the rest of the art around it in a way that pleases your eye. You can decide on a layout by laying the art on the floor until you find a solution that works or by cutting out the shape of each piece of art in brown craft paper and taping it to the wall to test out ideas.
If you don't have one piece of art that's demonstrably bigger, weight the center with darker pieces and frames.
Frames with no art also look great hung salon style. Find a bunch of frames at a thrift shop and paint them one color for an inexpensive custom art installation.
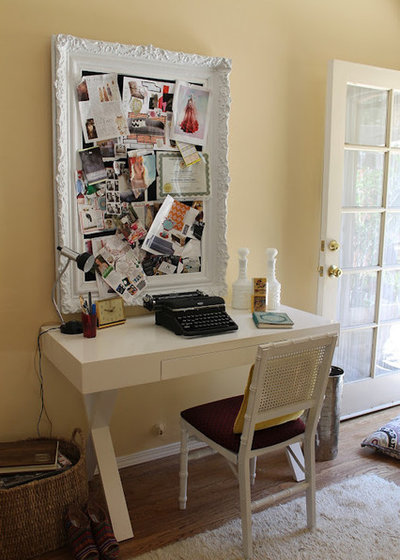
5. Create a singular sensation. If you have an ornate frame, give it breathing room by not hanging lots near it. Thin, slick frames are better for grids or rows.
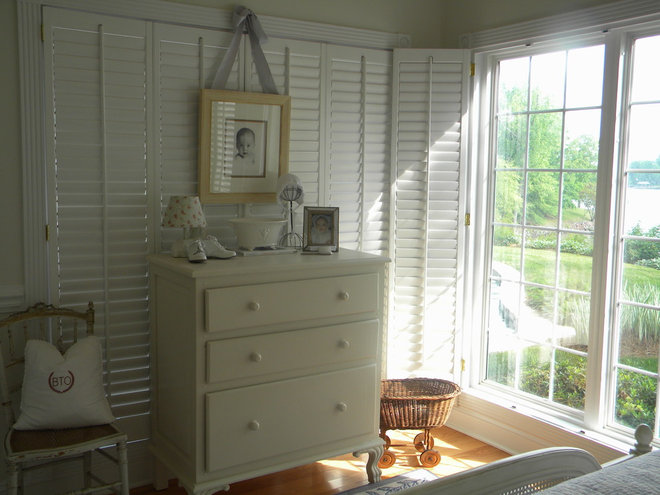
6. Think outside the frame. Flourishes such as ribbons and hanging wire add extra character to hanging art and give it more of a traditional look.
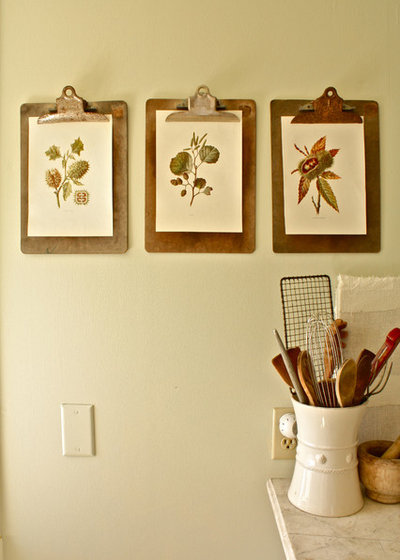
Clipboards are great for hanging children's art or art that is rotated often.
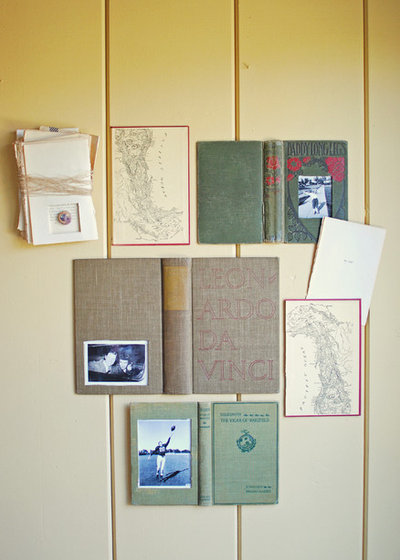
An art grouping like this may not have the lasting power of framed art, but it wins prizes for creativity.

